Hi all just after some advice on the rebuild I’m doing
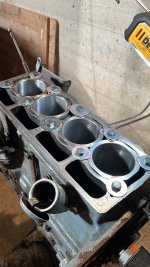
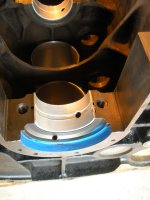
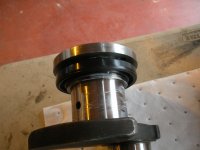
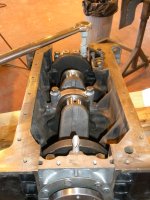
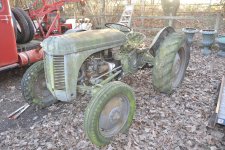
I rescued the tractor from a hedge where it had stood for 20 years or more, managed to free up the engine and start it but soon discovered water in the oil. Decided to go ahead with a full rebuild as suspected the liner seals.
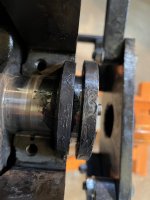
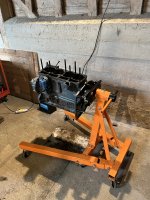
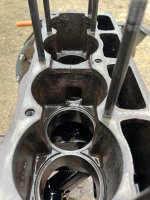
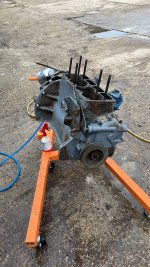
ive now got the engine out and on a stand to do the rebuild but discovered a crack in the water jacket between cylinders 2 and 3. I’m hoping this shouldn’t matter as it’s not A critical sealing face but would appreciate some advice!
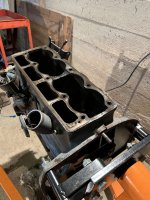
On another note what is the best way to clean up the block face? I’m reluctant to use sandpaper ! I’ve now got the studs out and having the head itself skimmed by a local machine shop so just wanted to clean up the block face a bit better before putting back together
many thanks photos below

I rescued the tractor from a hedge where it had stood for 20 years or more, managed to free up the engine and start it but soon discovered water in the oil. Decided to go ahead with a full rebuild as suspected the liner seals.
ive now got the engine out and on a stand to do the rebuild but discovered a crack in the water jacket between cylinders 2 and 3. I’m hoping this shouldn’t matter as it’s not A critical sealing face but would appreciate some advice!
On another note what is the best way to clean up the block face? I’m reluctant to use sandpaper ! I’ve now got the studs out and having the head itself skimmed by a local machine shop so just wanted to clean up the block face a bit better before putting back together
many thanks photos below
Attachments
-
 F8EEF155-945B-482E-8E99-2D0DFB3B23A9.jpeg1.7 MB · Views: 25
 -
 9B5AF66E-A19F-4133-8C7D-608B75E19CD6.jpeg2.9 MB · Views: 30
 -
 5157F19E-BCC1-4665-9122-1C174A0D7E78.jpeg1.5 MB · Views: 25
 -
 AC7D9E79-38E0-4C87-889D-01CD158B4E81.jpeg2.1 MB · Views: 31
 -
 68BCCB90-55DA-4B47-9974-B54FAD2ED122.jpeg3.6 MB · Views: 26
")