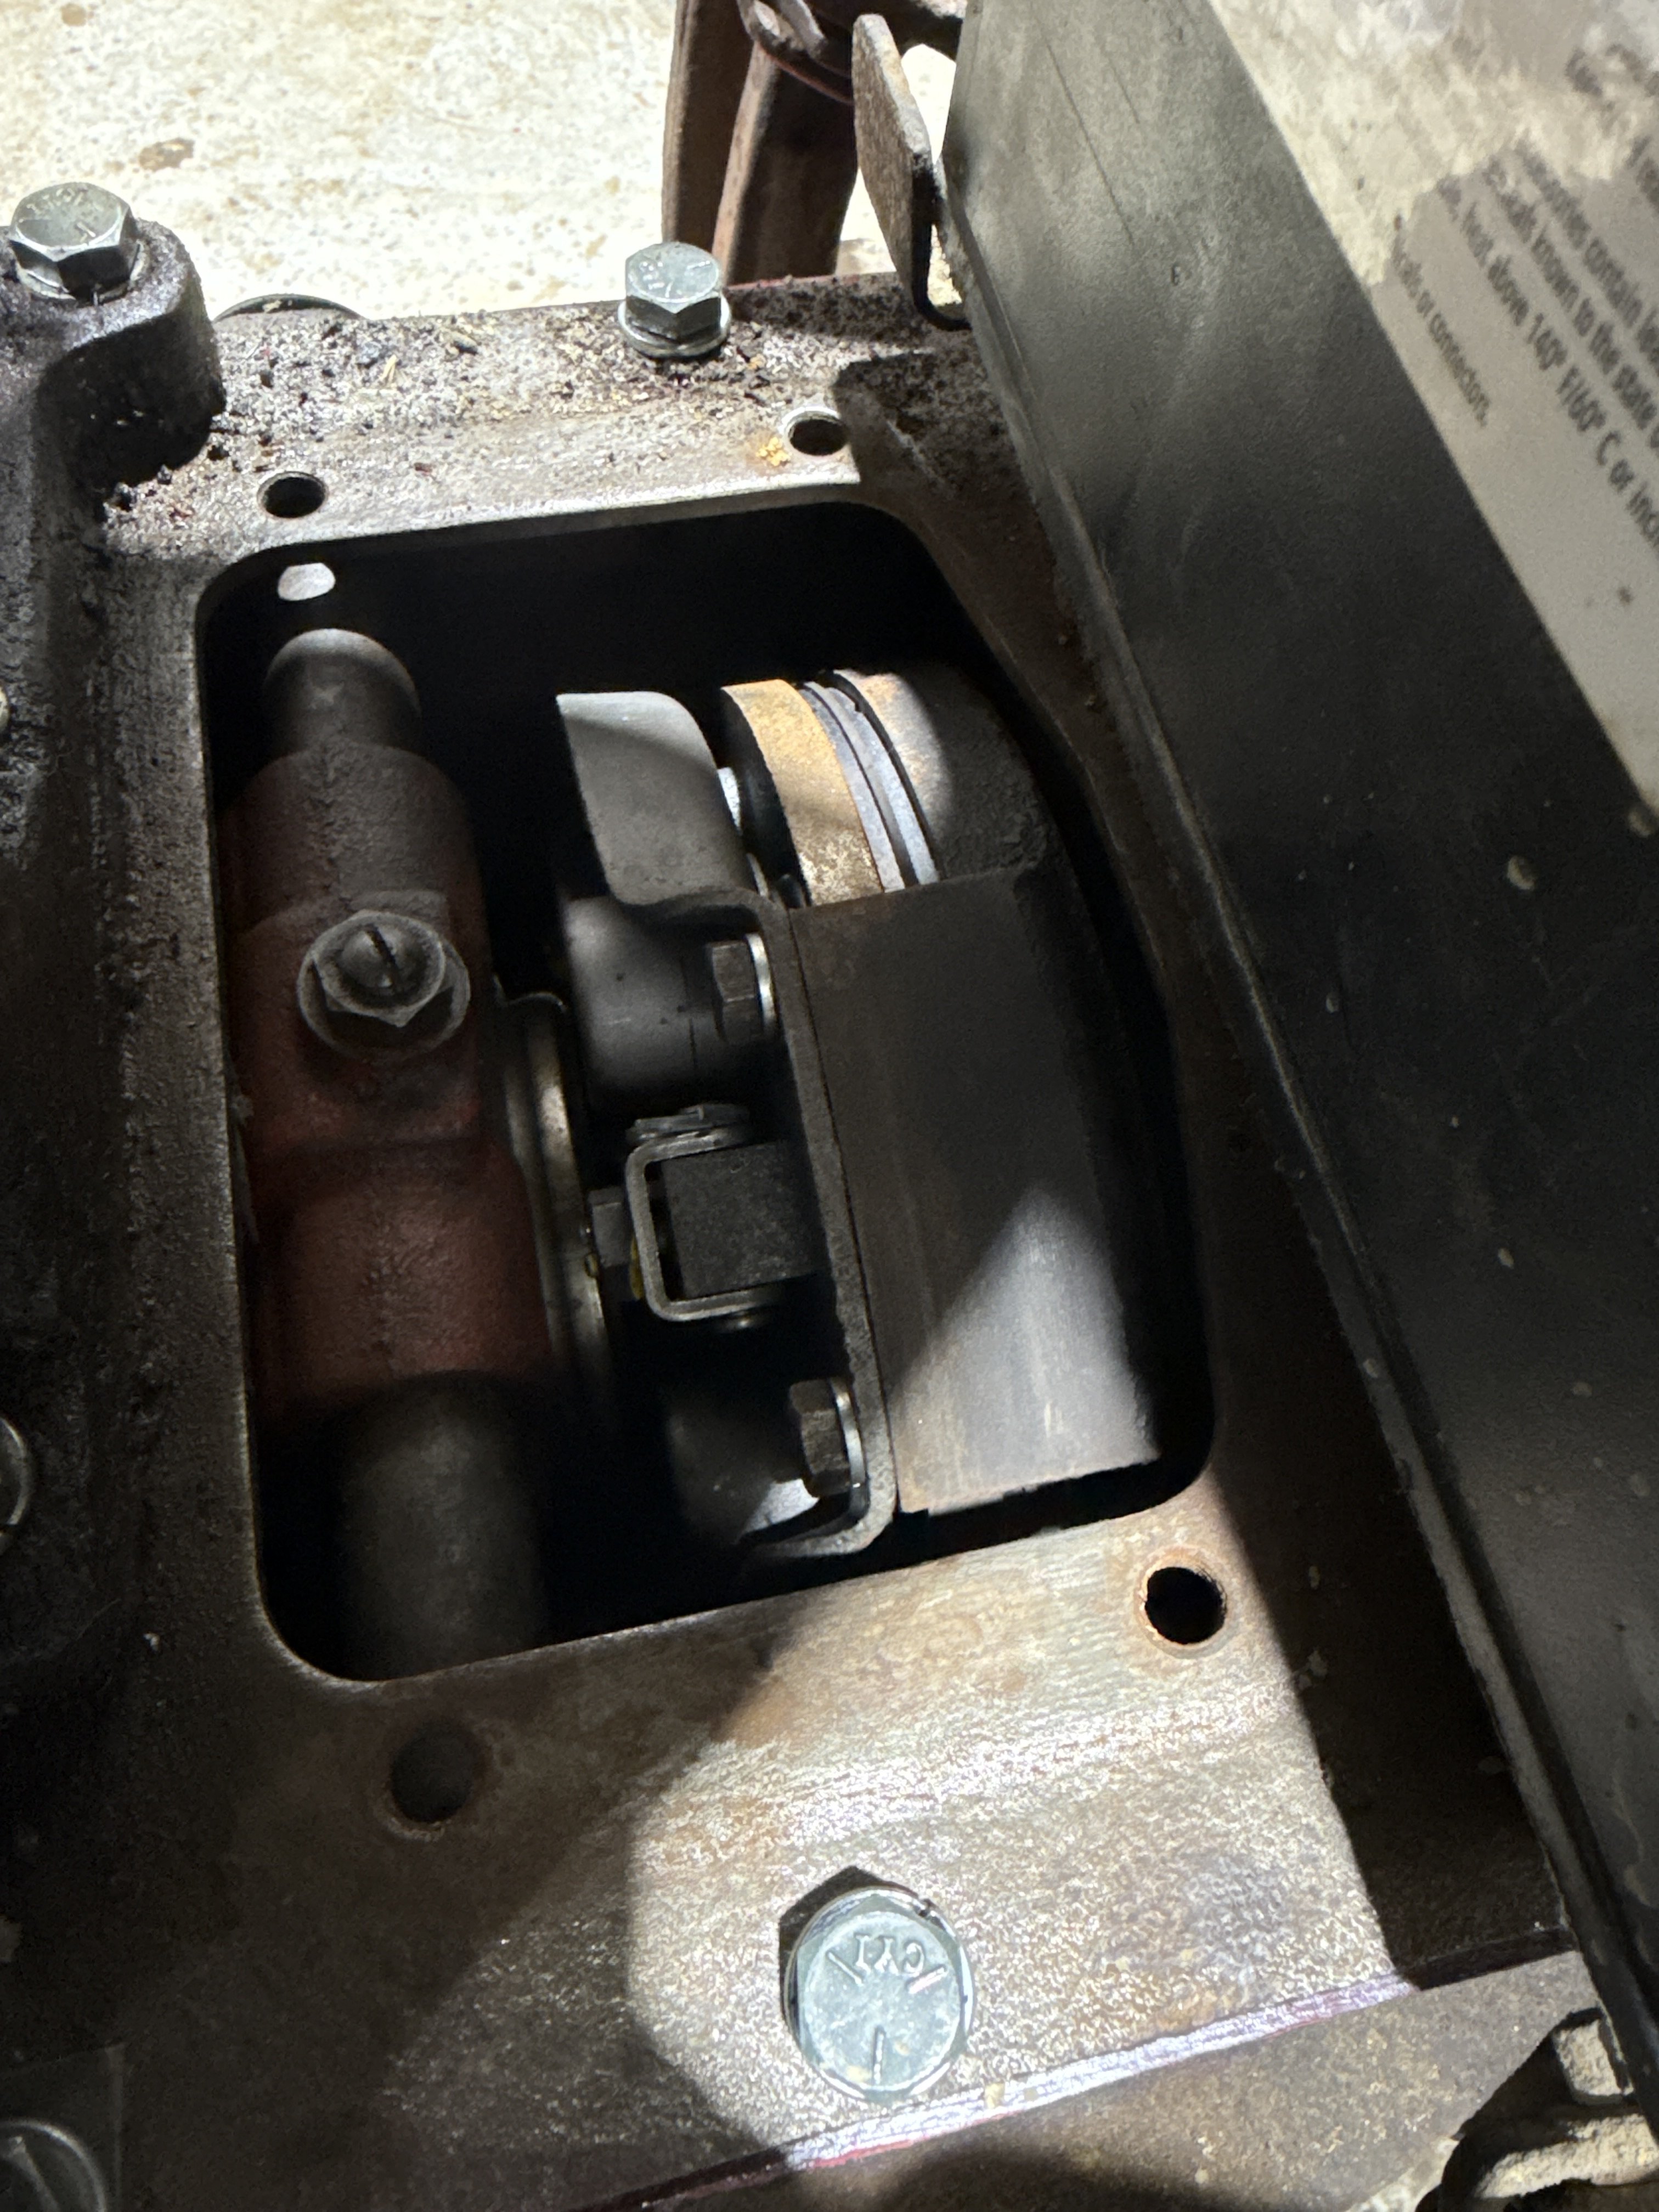
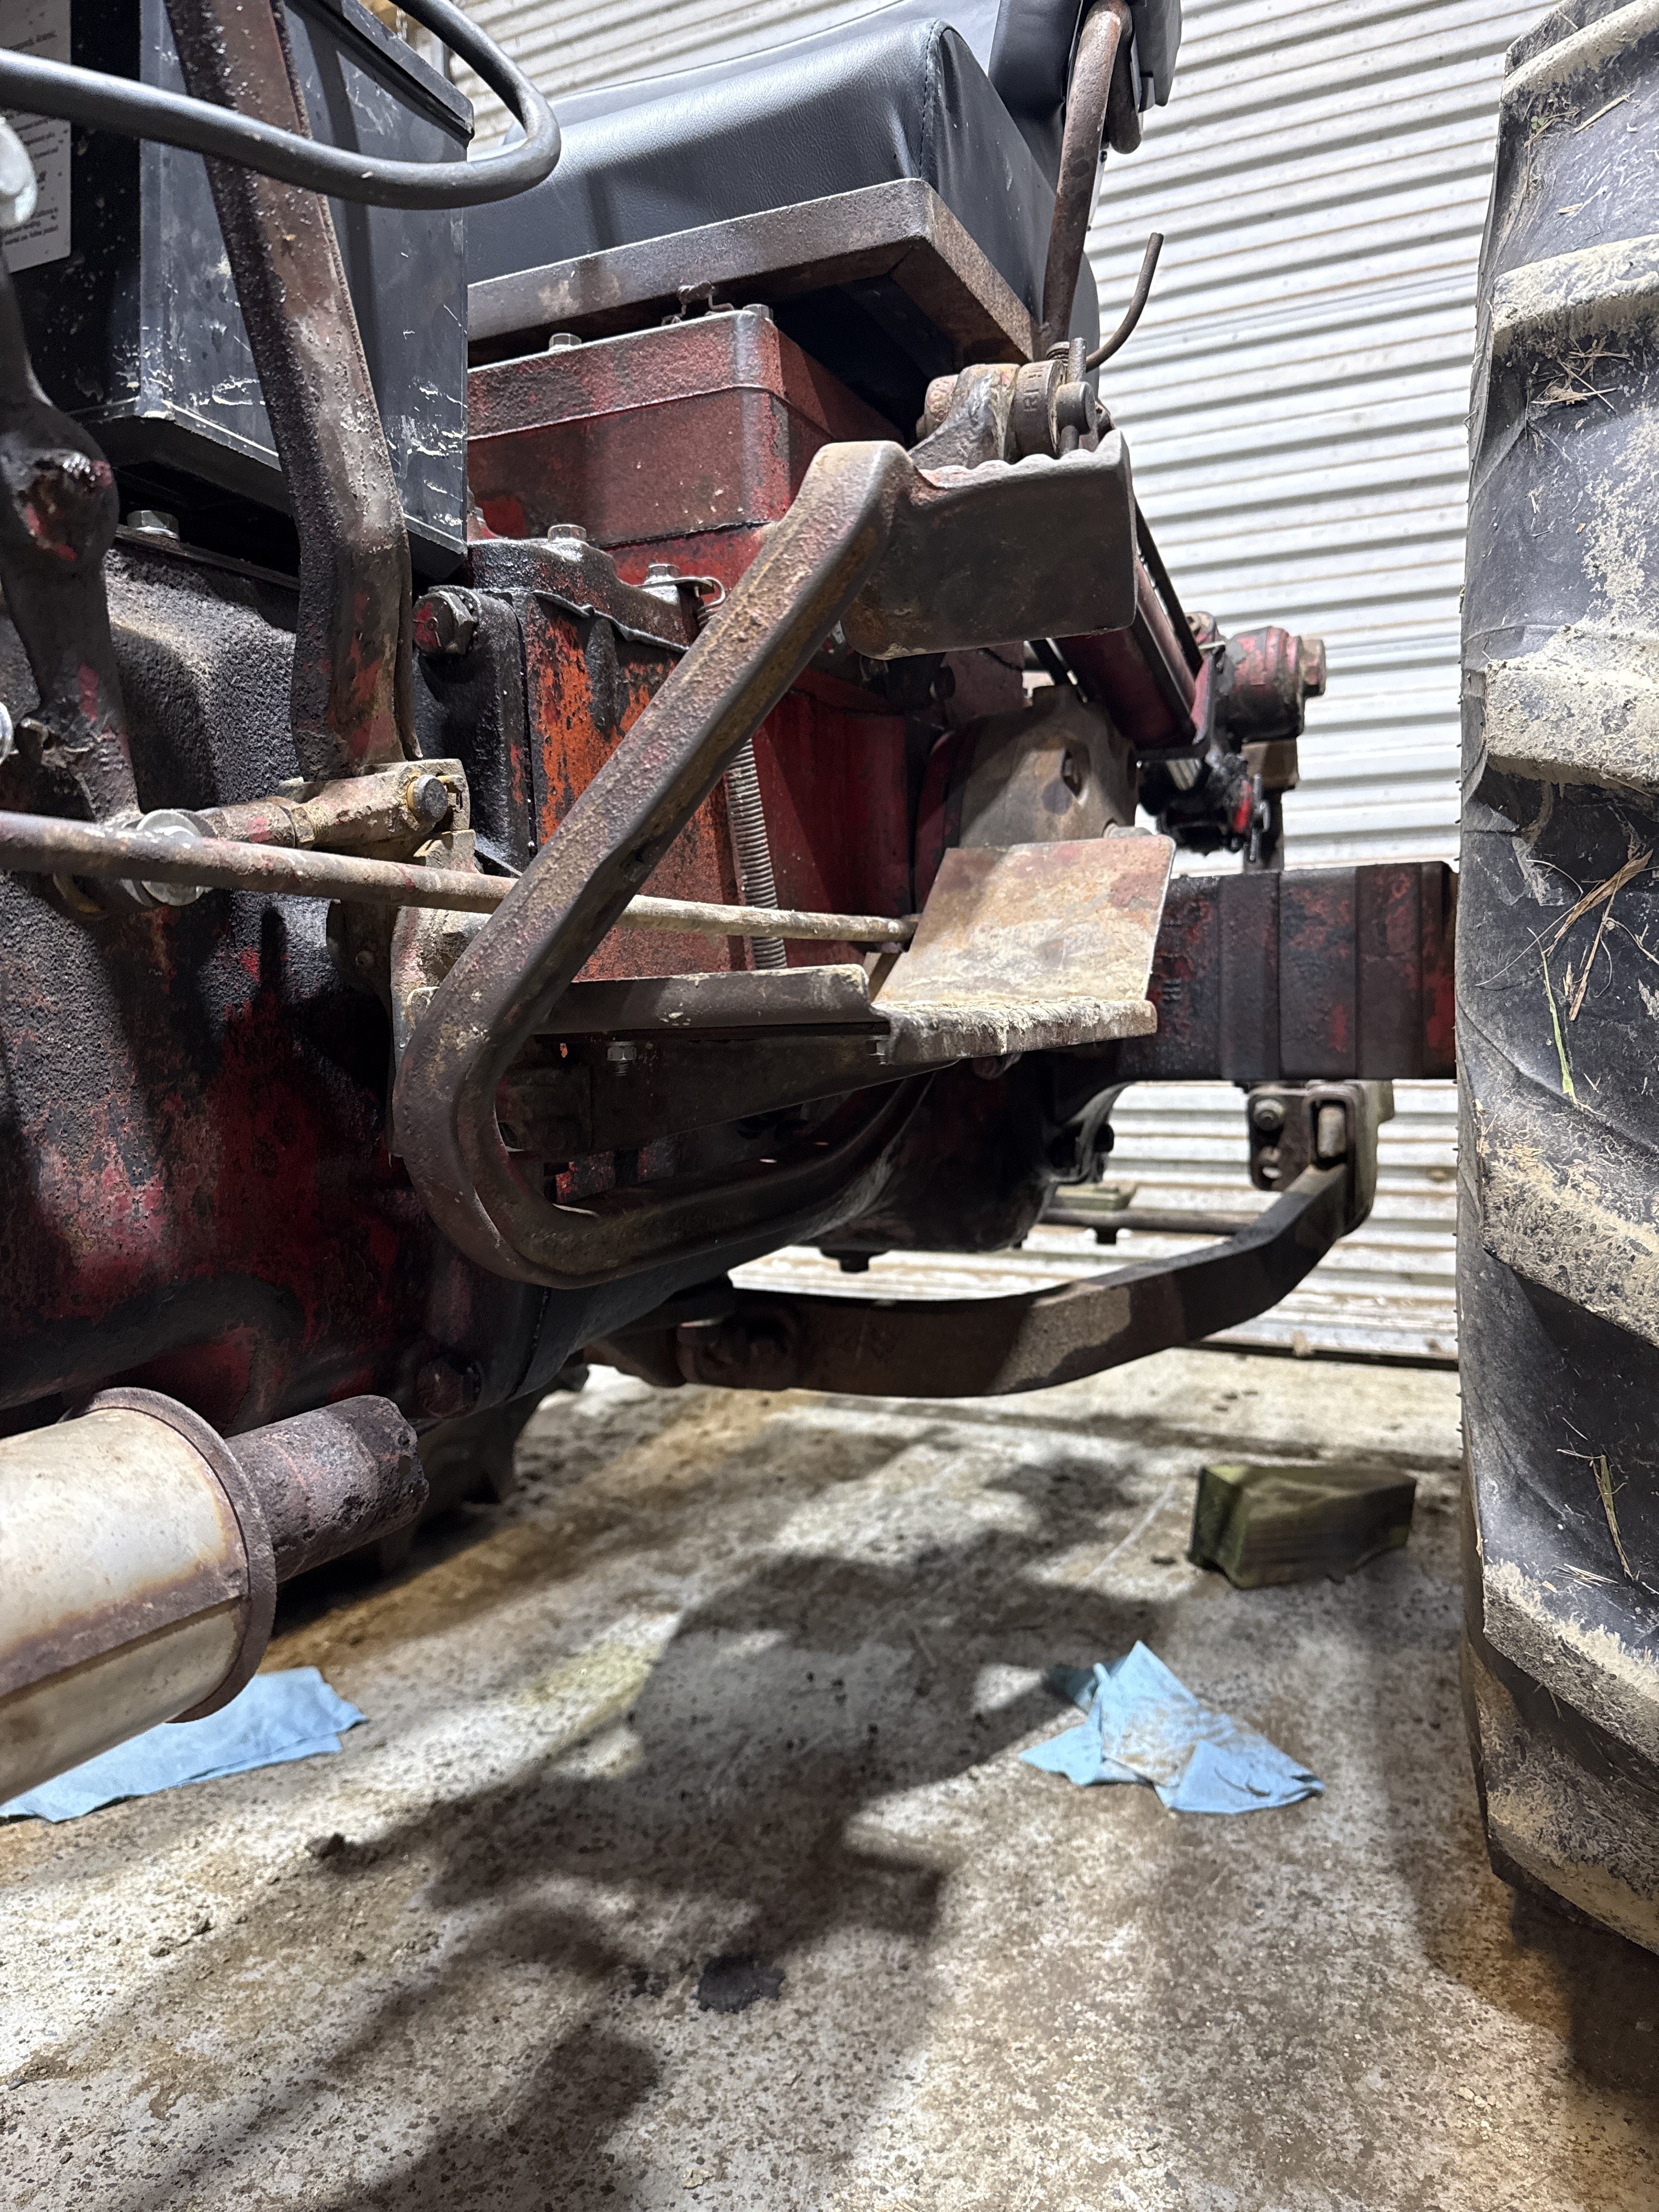
IH 300 UTILITY TA clutch to main clutch adjustment.

Just rebuilt the entire back half of my IH 300U with new discs and pressure plates on both clutches because the old ones were fully toasted. The clutch plates were remanned ones and I figured they would be adjusted already because the jam nuts had paint marks on them and were tight.

Been trying and trying to adjust this stupid thing from YouTube and the service manual and I can’t get it right. This is how she goes:

I adjust the first linkage for the TA lever to TA clutch and works amazing.

Then adjust the linkage from the pedal rod (CLUTCH PEDAL WAS CONVERTED TO 350 STYLE PEDAL)to the main clutch and works amazing.

Then comes the rod between the main clutch and the ta clutch.

The manual says to get it as short as you can without forcing anything. If I do that then the main pedal will not have enough travel to disengage the TA clutch. If I make the rod somewhat shorter and force it in the main clutch will disengage the TA clutch but the throw out bearing for the TA clutch will always stay in good contact with the fingers and spin all the time when the clutch is engaged which is a no go.

Is there something wrong with my finger height on either clutch or am I missing something else? Thanks, Logan
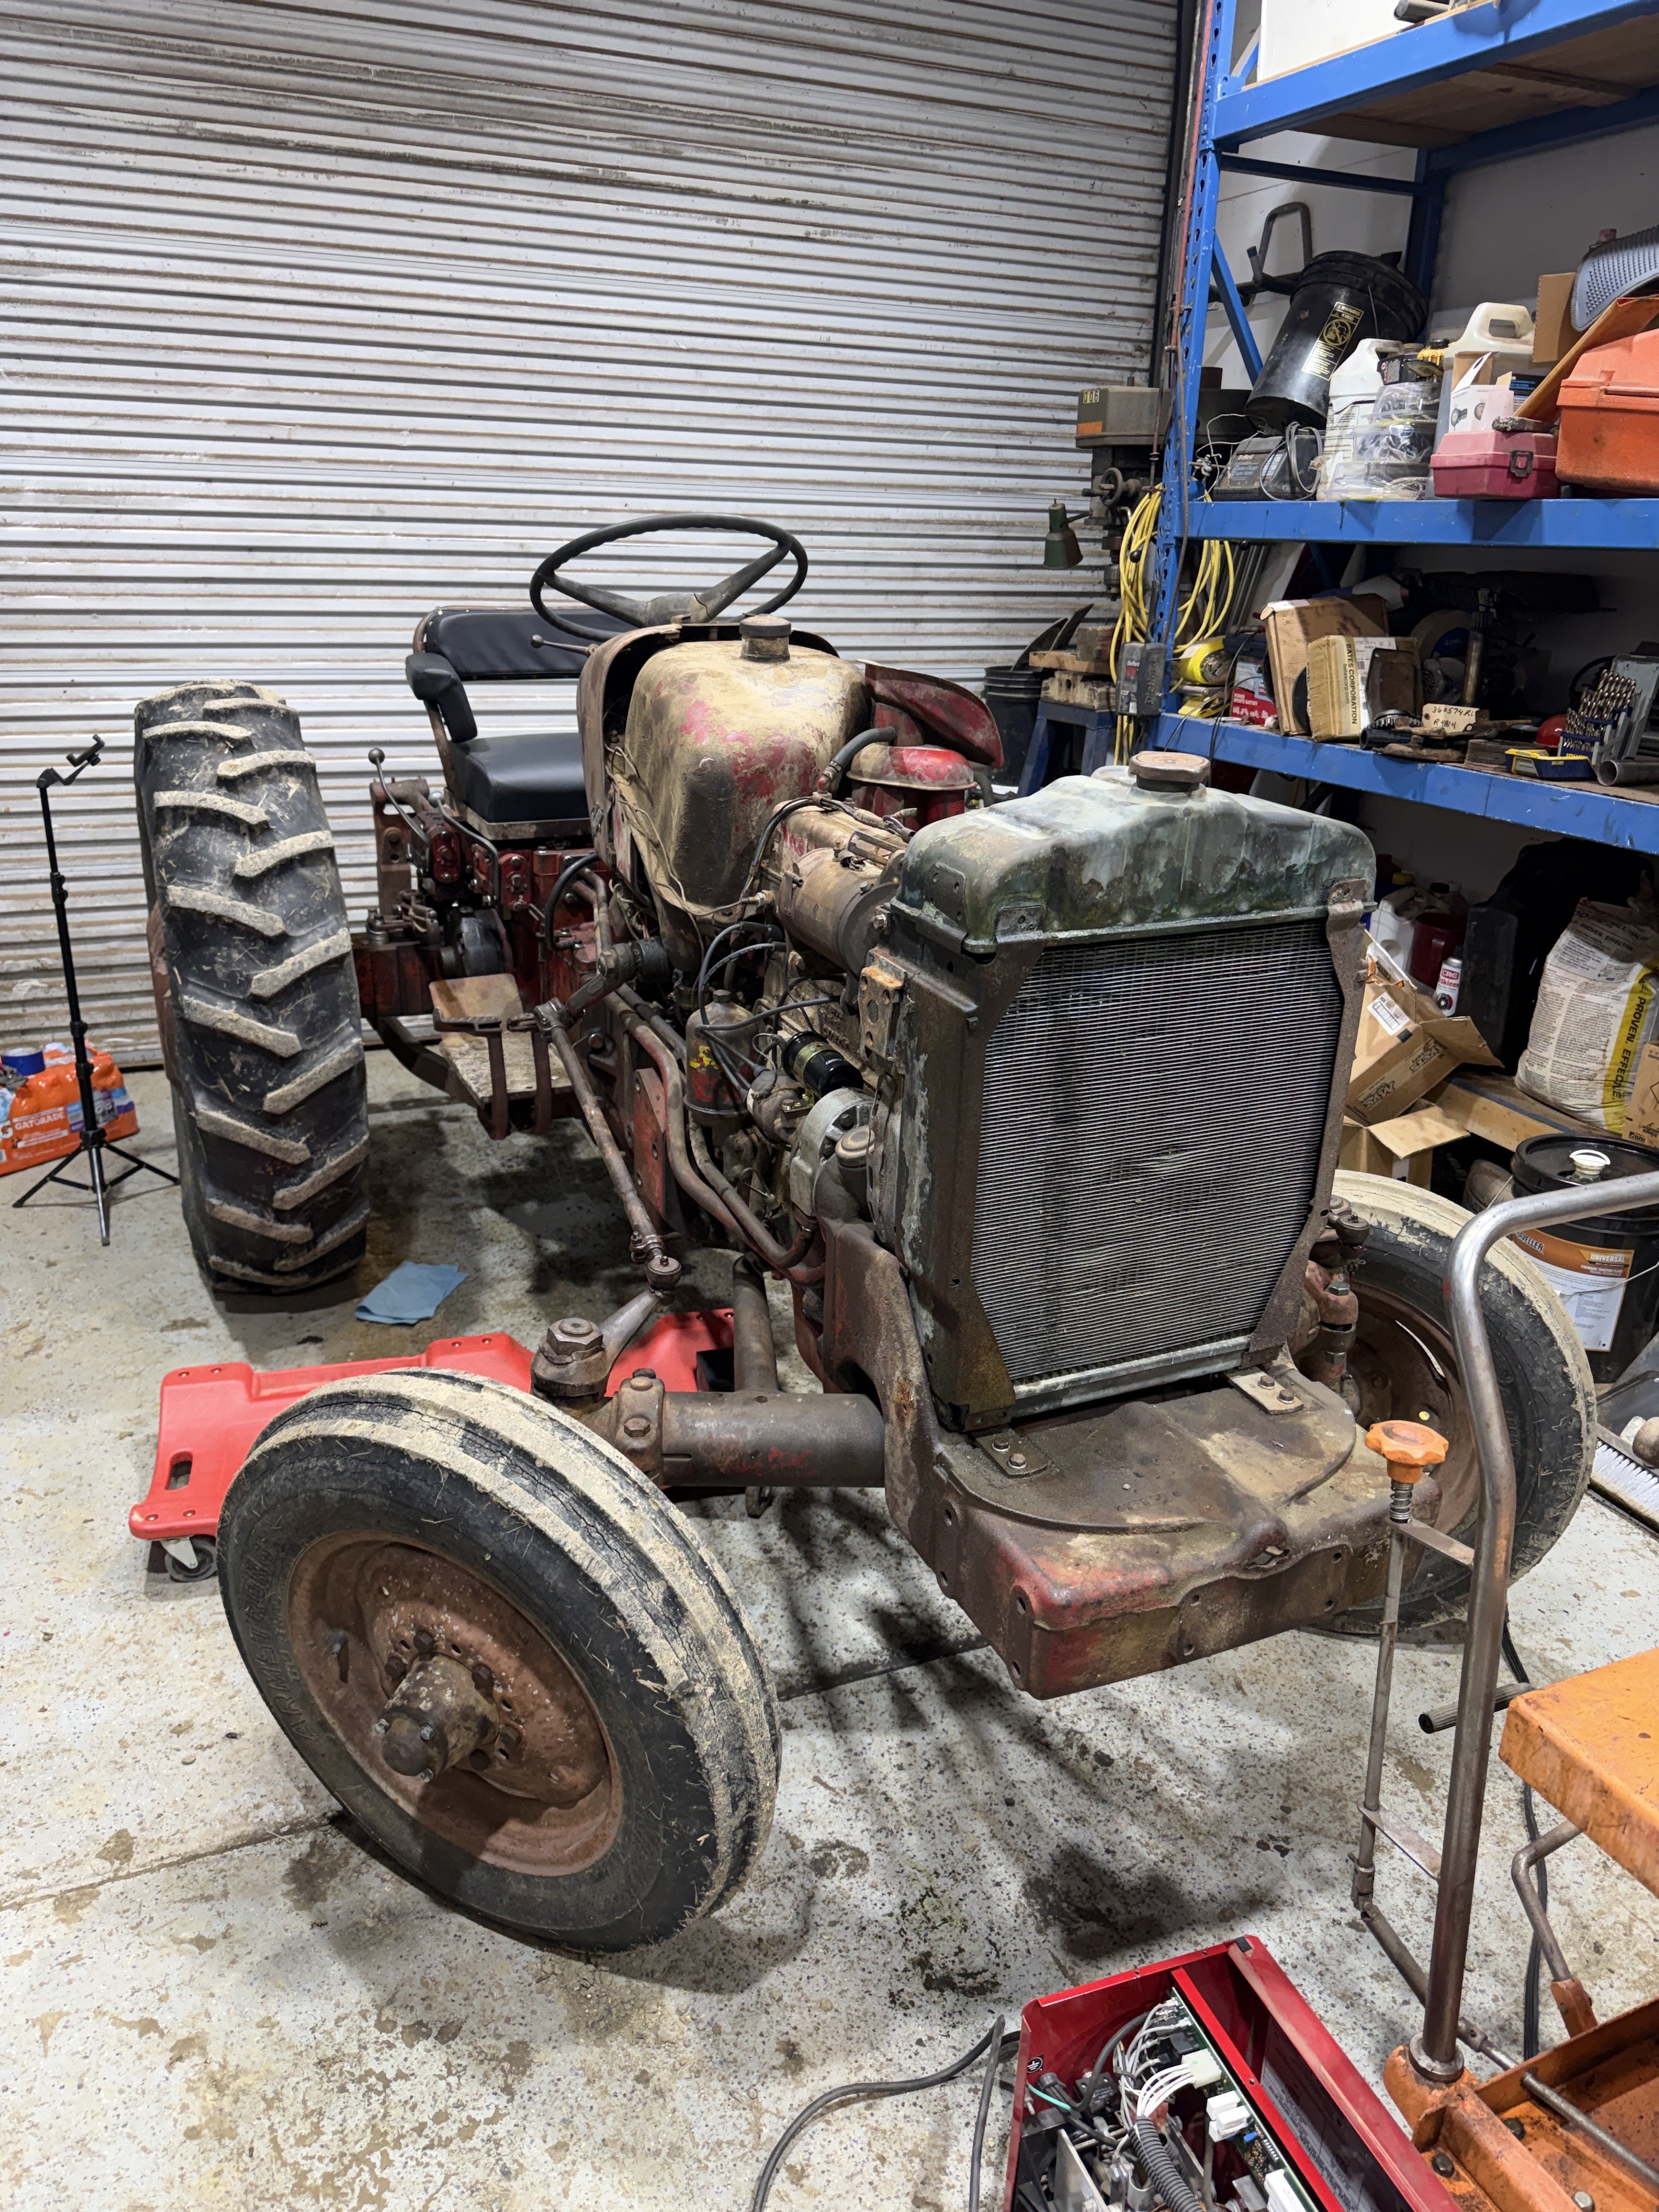
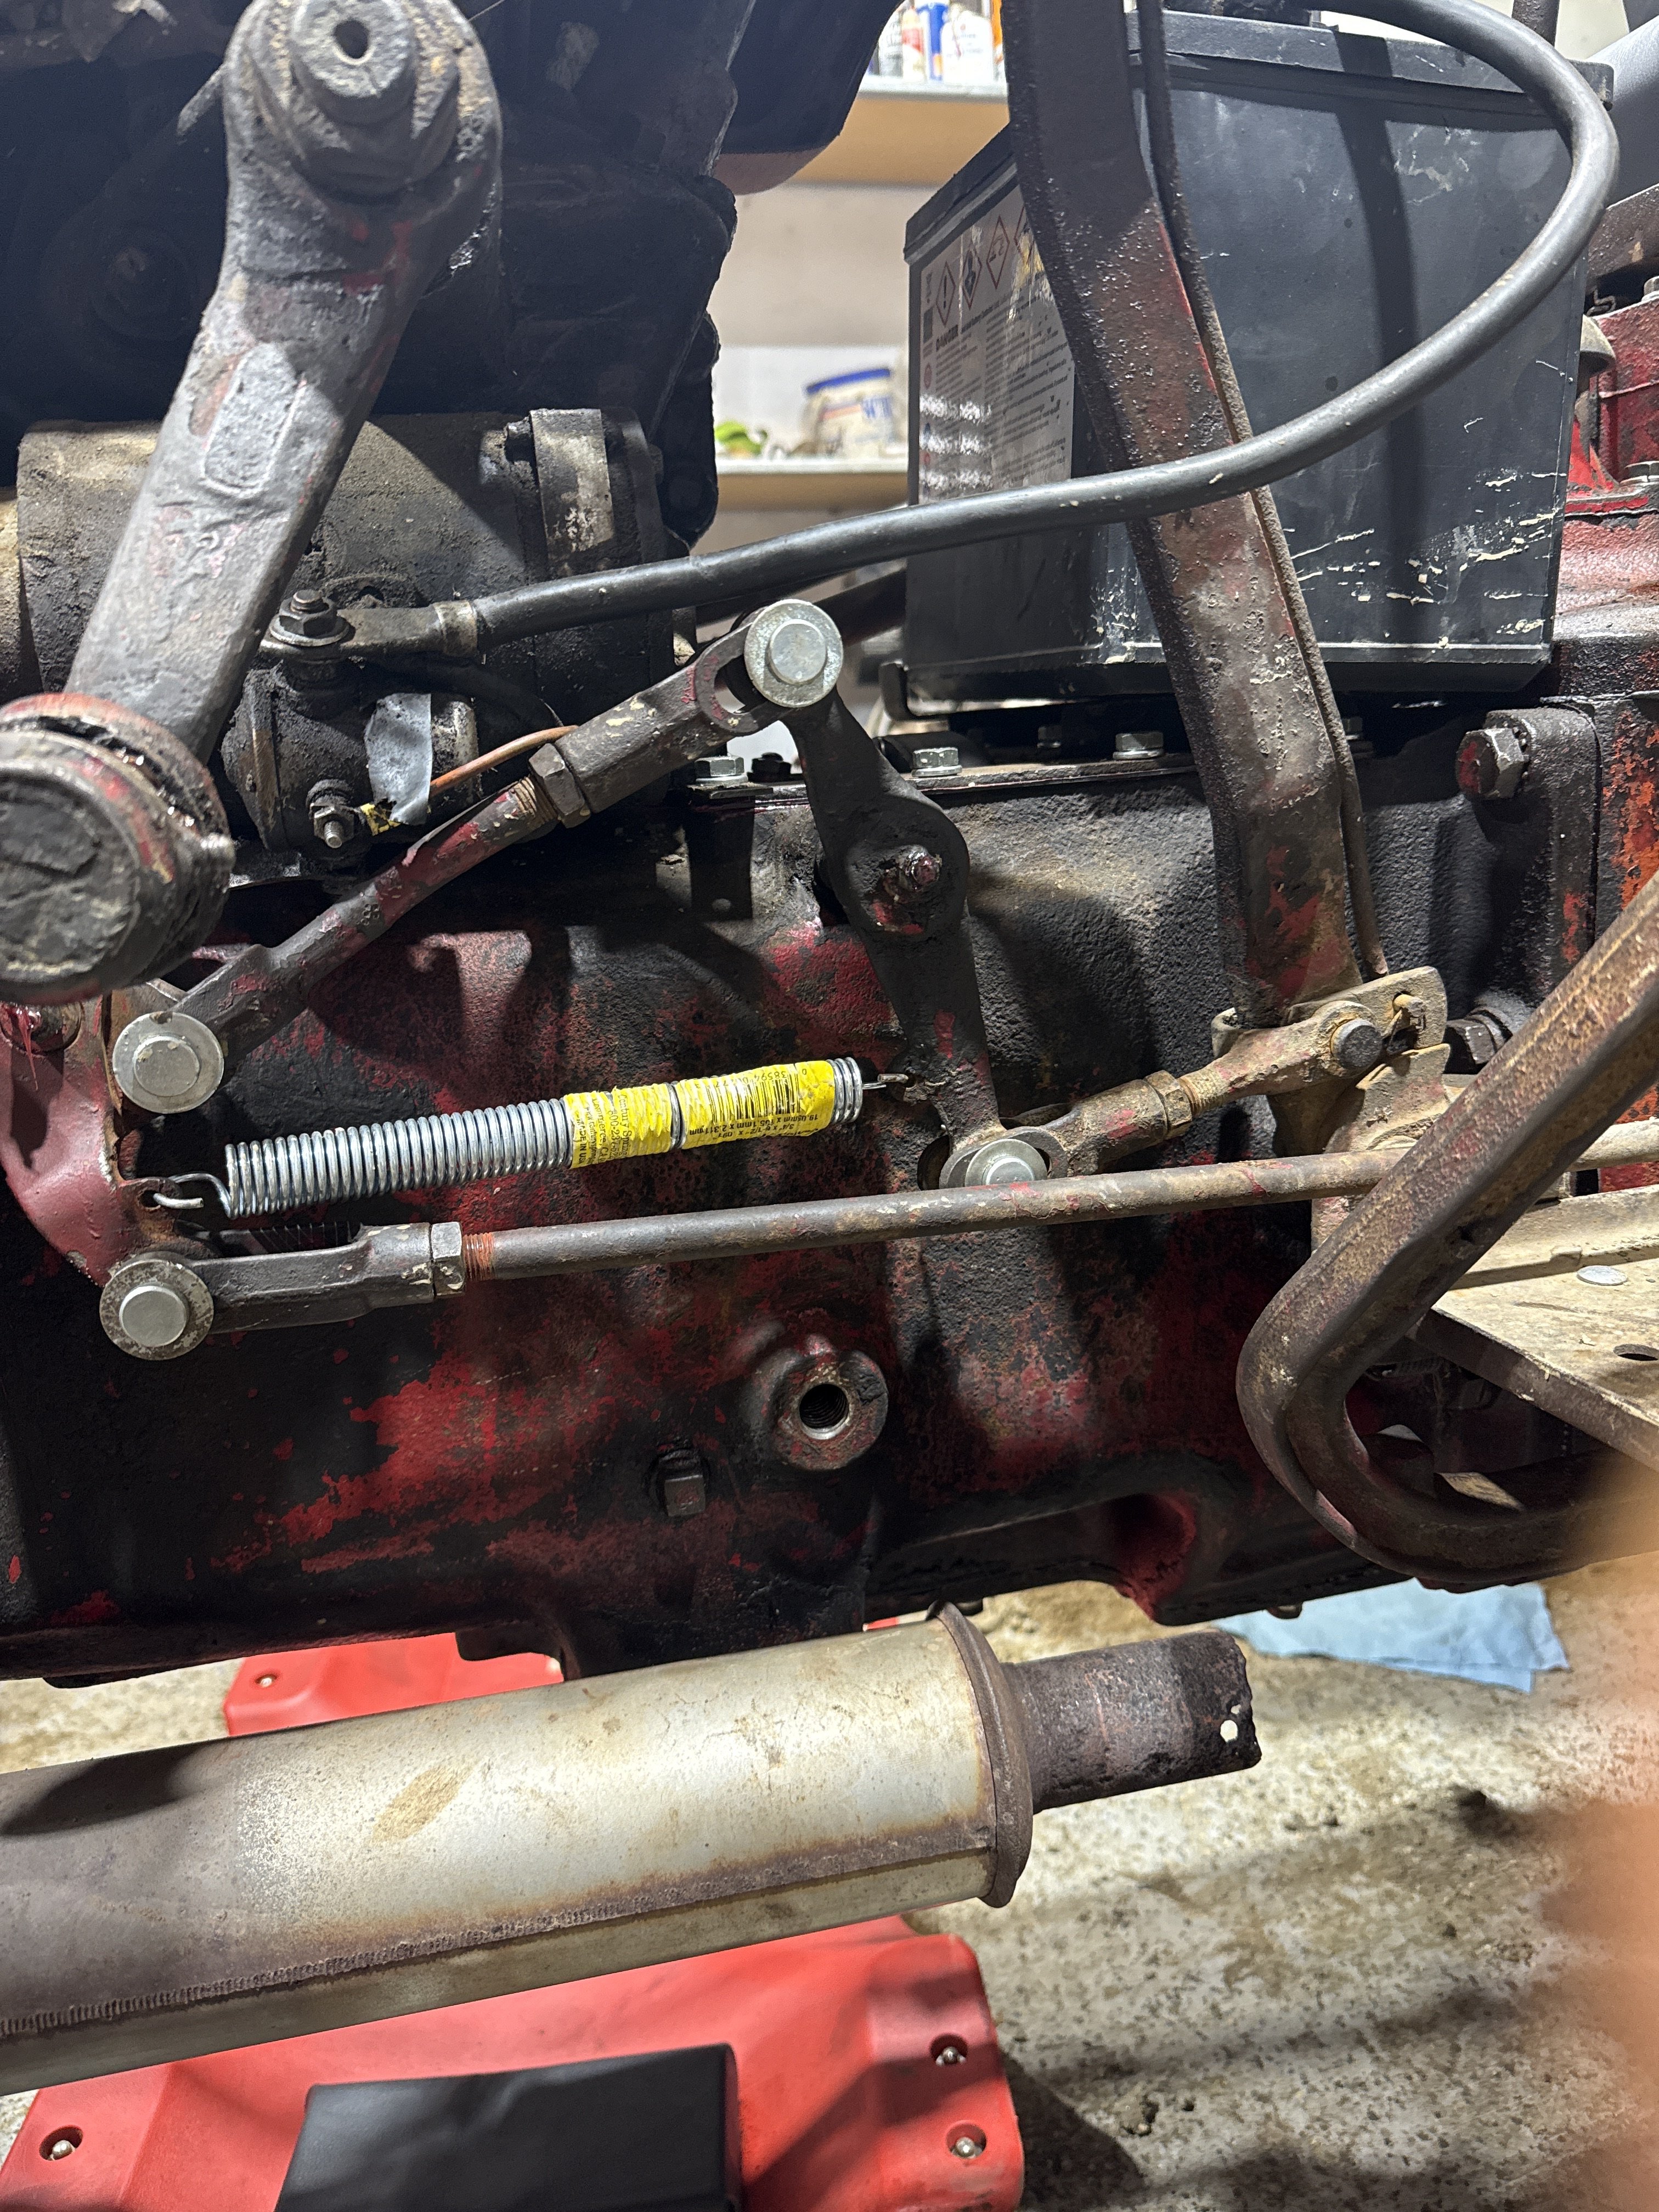
image.jpg
image.jpg
image.jpg
image.jpg
 
Block the clutch pedal all the way down ( clutch released ). Pull the TA handle to the rear (TA in low) . Now the link between the clutch and TA in your second picture, adjust it so the pins are pulled tight. With the pins installed there should be a little bind on them. Hope this helps you.
 
Block the clutch pedal all the way down ( clutch released ). Pull the TA handle to the rear (TA in low) . Now the link between the clutch and TA in your second picture, adjust it so the pins are pulled tight. With the pins installed there should be a little bind on them. Hope this helps you.
That’s how it’s adjusted currently it just seems wrong that the throw out bearing for the TA clutch is always in contact with the fingers on the pressure plate.
 
If you take out the link between the clutch and TA can you get free play for the TA with the handle forward. 3/16th’s . The link on the TA handle, the slotted end you adjust it so the shaft can rotate forward (clockwise) so the pin is tight then you should be able to rotate it counterclockwise 3/16. That is your free play for the TA clutch
 
Are you still working on this? I think there is some error in your method. With the TA lever forward the TA free play is set by adjusting the link to the TA lever. The yoke is adjusted to allow 3/16 of an inch for the pin and lever to slide forward from the point it sets when the lever is rotated counterclockwise which holds the TO bearing against the TA fingers. Then when the spring is attached, that clockwise movement (3/16”) seating the pin in the forward limit of the yoke slot is pulling the TA TO bearing away from the fingers to give free play. From that setting the stroke of the linkage moved by the TA lever is adequate to properly release the TA clutch for reduction operation. Then when proper main clutch free play is set the angled link is adjusted to give you proper disengagement of the TA clutch when the main clutch is disengaged. Setting that adjustment per the factory sometimes doesn’t work when the linkage and pivots are worn. If those adjustments take away the TA TO bearing free play we’ll need to have further discussion.
IMG_4752.jpeg
 
Are you still working on this? I think there is some error in your method. With the TA lever forward the TA free play is set by adjusting the link to the TA lever. The yoke is adjusted to allow 3/16 of an inch for the pin and lever to slide forward from the point it sets when the lever is rotated counterclockwise which holds the TO bearing against the TA fingers. Then when the spring is attached, that clockwise movement (3/16”) seating the pin in the forward limit of the yoke slot is pulling the TA TO bearing away from the fingers to give free play. From that setting the stroke of the linkage moved by the TA lever is adequate to properly release the TA clutch for reduction operation. Then when proper main clutch free play is set the angled link is adjusted to give you proper disengagement of the TA clutch when the main clutch is disengaged. Setting that adjustment per the factory sometimes doesn’t work when the linkage and pivots are worn. If those adjustments take away the TA TO bearing free play we’ll need to have further discussion. View attachment 165154
You guys aren’t getting what I’m saying so I’ll tell you what I found out last night. I don’t have a picture of it but I was looking inside the hole on the bottom of the bellhousing at the main release bearing.

I disconnected and removed all linkages and if I manually moved the main clutch release bearing back as far as it would go it still touched the fingers. That is why I’m saying that I think my fingers are adjusted wrong as it’s physically impossible to adjust free play with the linkages and that’s probably why I can’t get the clutches to adjust to work together. I’m pretty sure there should be about 3/16” space between the release bearing and the fingers so I thing the fingers need set in a little bit. I’m not splitting that tractor again unless I really have to so I’ll try adjusting fingers thru the hole.

Also I followed the manual word for word so my method is in fact correct I might have just explained it badly. Logan.
 
If your main clutch throw out bearing will not back away from the pressure plate because it is already against the carrier casting then you have an issue with the clutch, pressure plate. When you installed it to the flywheel did you notice if the fingers rotated in ( toward the flywheel did) about a 1/2 inch. If they didn’t rotate in then you either got a flywheel out of specs. or you got a bad pressure plate. My guess is the flywheel is out of specs. The pressure plate is adjusted to operate correctly when the flywheel is in specs. That’s why there are paint marks on the screws. If the paint is been cracked or removed then warranty is void. Don’t have measurements in front of me but the distance from the pressure plate surface to the clutch surface has to be exact plus or minus .002
 
There can be .010” clearance if the TO bearing stops turning is all you need. But you have to be very conscious of your foot riding the pedal. And adjust it as the clutch wears.
Bearing is spinning when the tractor runs but just barely they don’t need adjusted in very much
If your main clutch throw out bearing will not back away from the pressure plate because it is already against the carrier casting then you have an issue with the clutch, pressure plate. When you installed it to the flywheel did you notice if the fingers rotated in ( toward the flywheel did) about a 1/2 inch. If they didn’t rotate in then you either got a flywheel out of specs. or you got a bad pressure plate. My guess is the flywheel is out of specs. The pressure plate is adjusted to operate correctly when the flywheel is in specs. That’s why there are paint marks on the screws. If the paint is been cracked or removed then warranty is void. Don’t have measurements in front of me but the distance from the pressure plate surface to the clutch surface has to be exact plus or minus .002
yes I’ve been saying something is wrong with the pressure plate the whole time flywheel should be fine and yes the fingers rotated in. If they didn’t then the clutch wouldn't work at all. It drives around just fine and the TA works great too I just can’t get the bearings to come off the fingers. The release bearing for the main clutch is super close it’s just barely riding enough to move when the tractor is running.
 
yes I’ve been saying something is wrong with the pressure plate the whole time
I’m not saying that you shouldn’t adjust them, just took a bit for the whole situation to sink in because you kept saying the TA TO bearing was contacting the fingers and turning. Go ahead and adjust the main drive clutch fingers, I suppose you know keeping them an even distance one compared to another is important.
 
Yesterday's Tractor Forums

We sell tractor parts! We have the parts you need to repair your tractor - the right parts. Our low prices and years of research make us your best choice when you need parts. Shop Online Today.

Back
Top