[b:654c4848f0][i:654c4848f0]Can anyone explain exactly what all needs removed to get the generator belt off and replace it?[/i:654c4848f0][/b:654c4848f0]
This is one method of removing and replacing the generator belt.
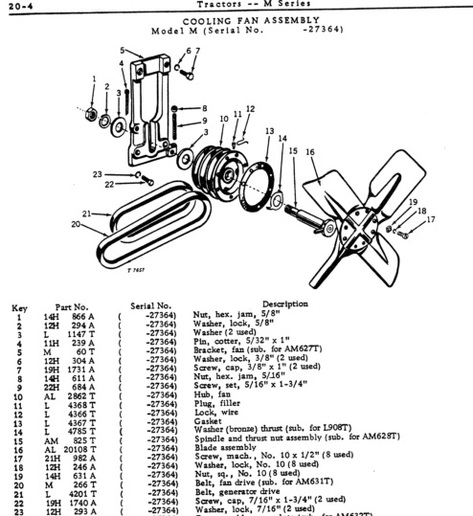
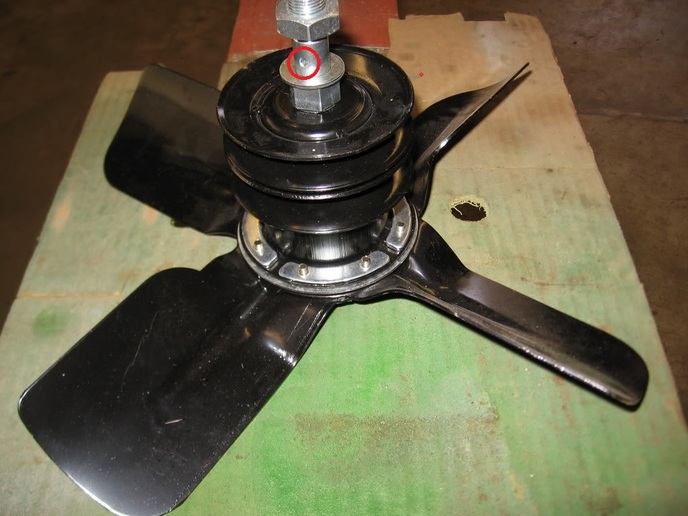
Take a look at the [b:654c4848f0]COOLING FAN ASSEMBLY[/b:654c4848f0] diagram below.
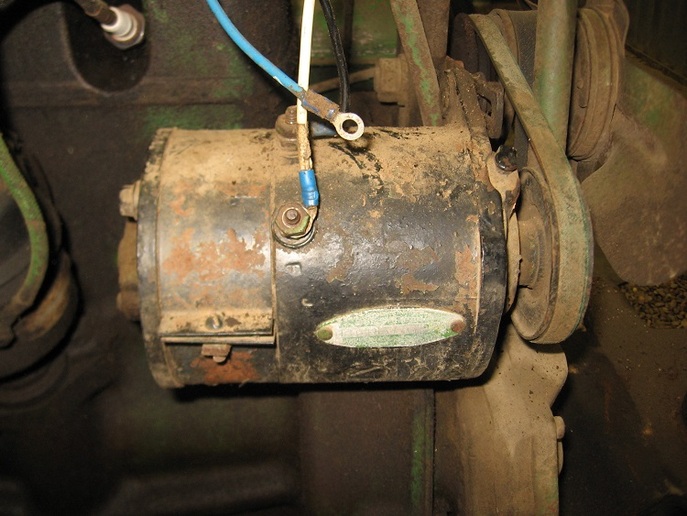
First remove the generator.
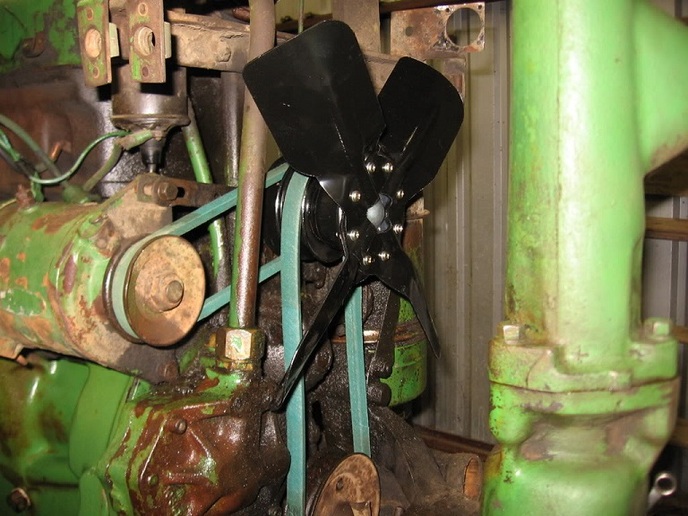
Take a look at the photo below of the fan bracket (Key 5).
Note the slot that allows the spindle and thrust nut assembly (Key 15) to move up and down.
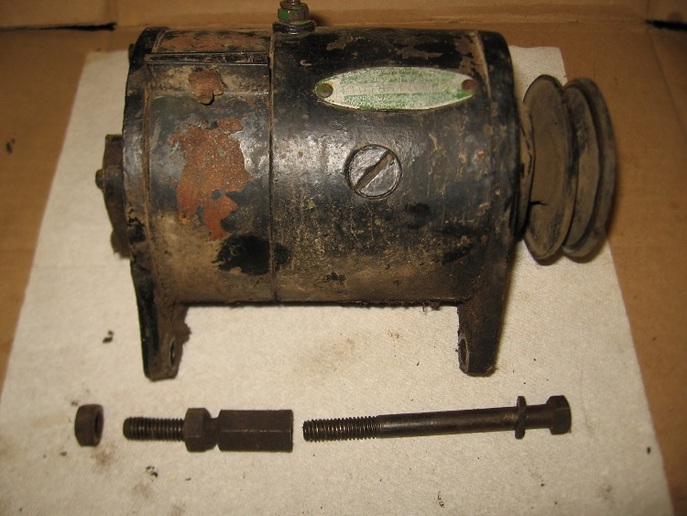
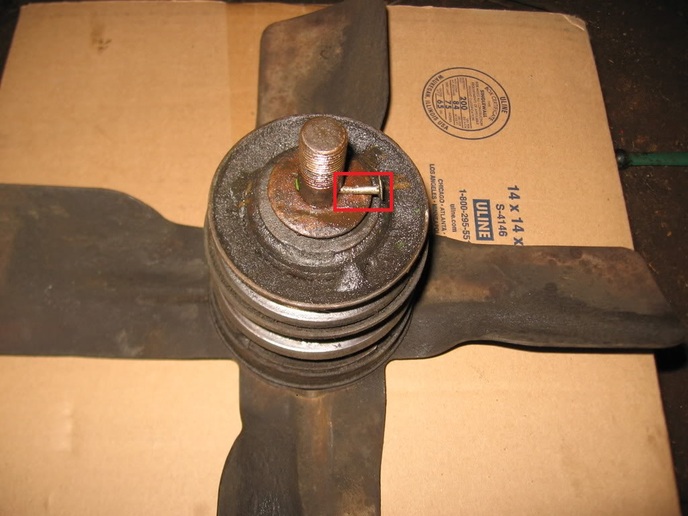
Take a look at the photo below of the end of the spindle and thrust nut assembly.
Note the hole for the cotter pin (Key 4).
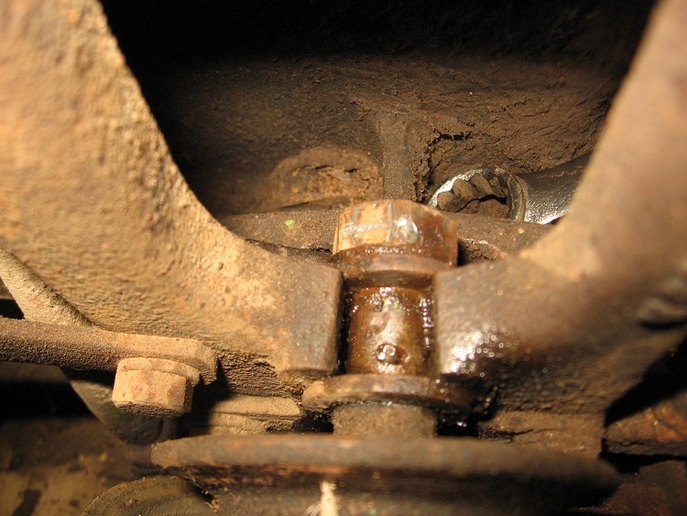
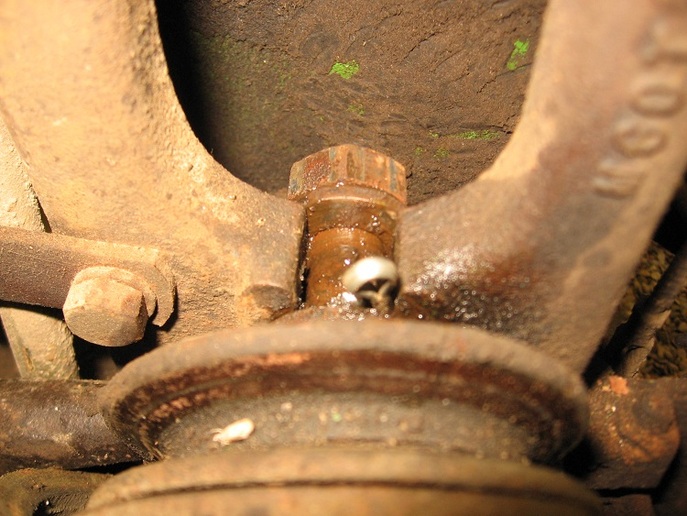
Take a look at the photo below of the cotter pin.
If the cotter pin has been sheared off, then it could be a lot of work loosening the hex jam nut (Key 1).
If necessary, replace the cotter key with the correct part.
The cotter key allows the hex jam nut to be loosened and tightened.
Loosen the hex jam nut and slide the fan assembly down in the fan bracket.
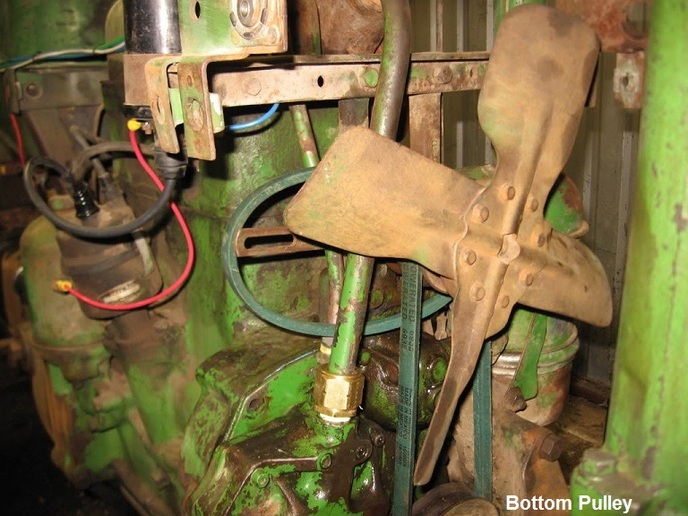
Remove the fan drive belt (Key 20) from the bottom pulley.
Slide the fan assembly up into the fan bracket opening until the spindle end is completely out of the slot.
Remove the worn generator drive belt (Key 21) from the spindle.
Install the new generator drive belt.
Slide the fan assembly down into the fan bracket slot.
Slide the fan drive belt onto the bottom pulley.
Slide the fan assembly up into the fan bracket until the fan belt drive is tight.
Tighten the hex jam nut on the spindle.
Reinstall the generator.
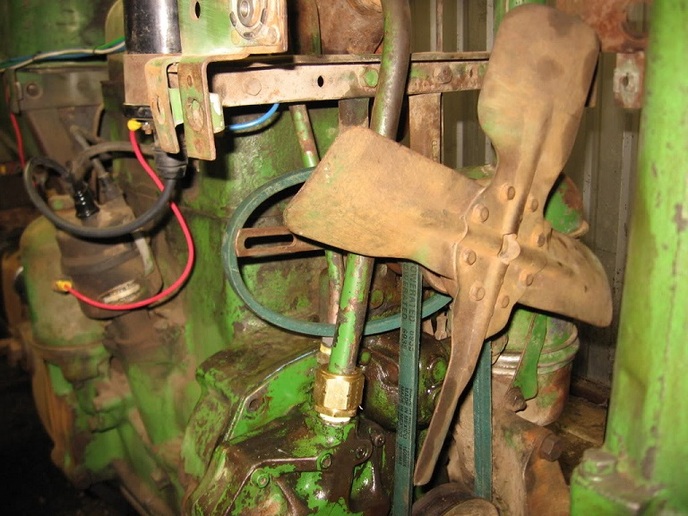
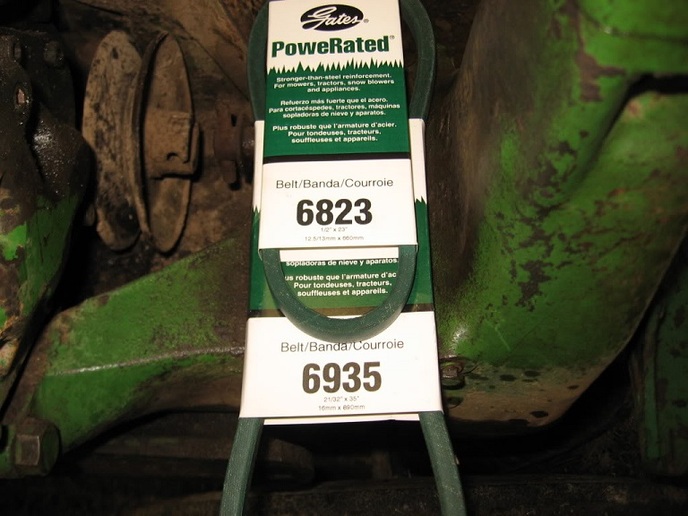
Take a look at the photo below of the belts.
Hope this helps.