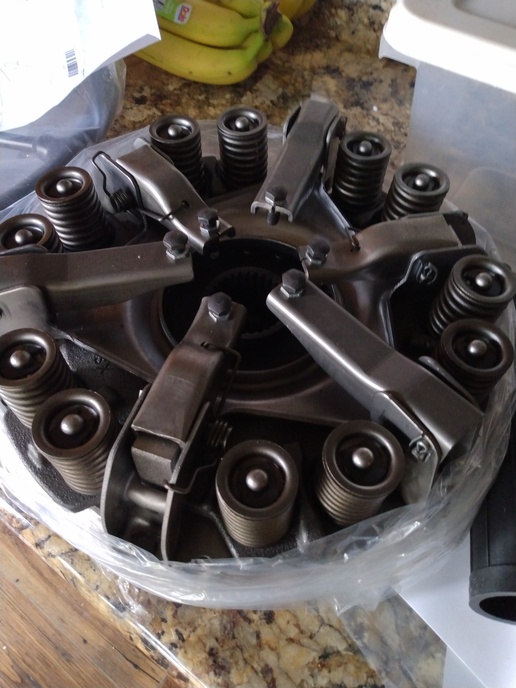
Ford 960 clutch

grandpa Love

Well-known Member
Ordered my clutch kit a few days ago! It
arrived today. Looking forward to
tackling this project. Never split a
narrow front tractor. Any tips on the
clutch install! Just unbolt old, install
new? Any adjustments needed?
cvphoto82616.jpg


cvphoto82617.jpg

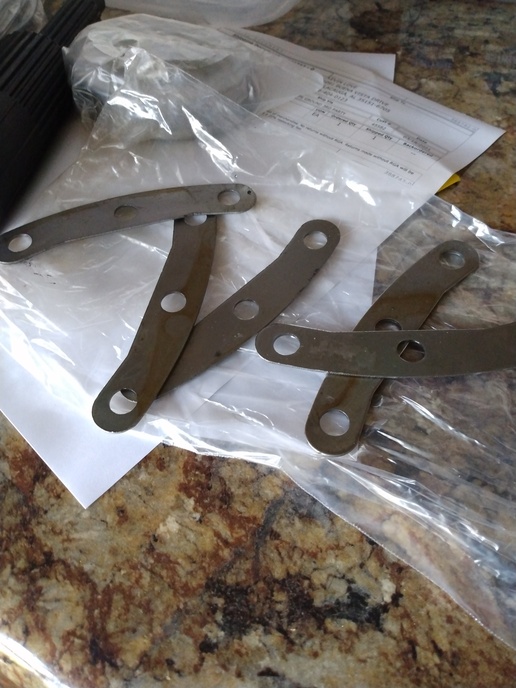
What are the shims for? No instructions
were in the kit
 

What are the shims for?

I have a good ID but will hold on to it for a bit...

My tip once you mate it with a few bolts check that the clutch releases... If not its not good for the home team...
 
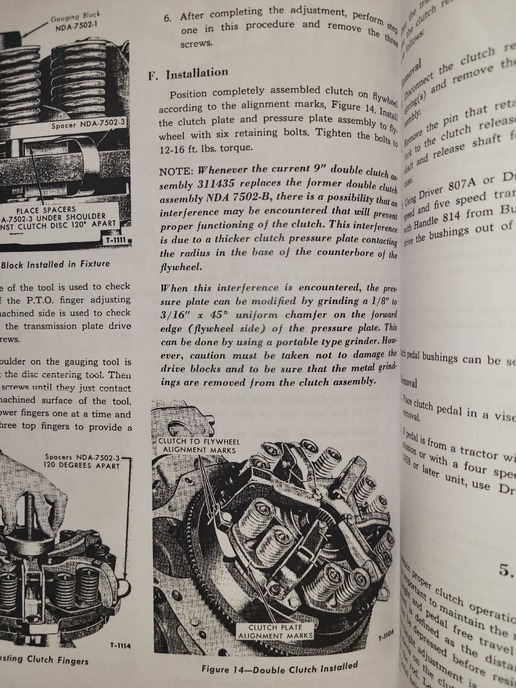
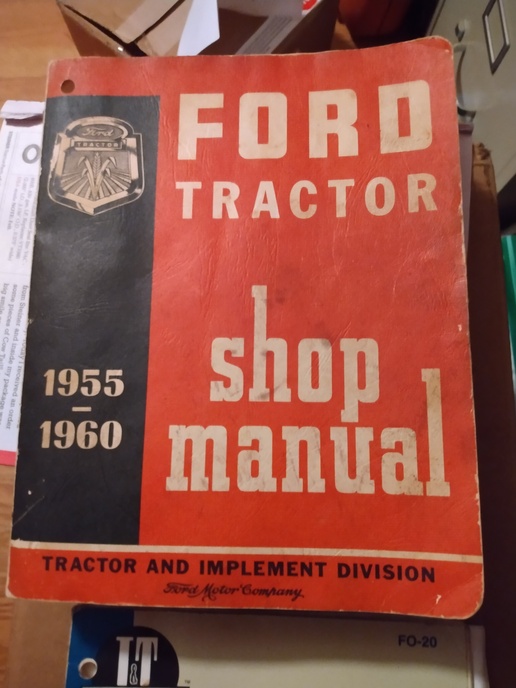
Pic from the service manual, if you want anything else from it let me know. Also according to the manual, you should put jack stands under the side rails of it to prevent tipping, I would also try to support the front with a hoist and remove the battery before trying to split it.
cvphoto82626.jpg
 
Never done one on a dual disc Ford, so can't be much help.

Interesting the info says no alignment tool needed. I just can't wrap my mind around that! Every dual clutch I ever messed with, without an alignment tool it didn't stand a chance of mating back up.

As for the shims, is the flywheel a step flywheel? The pp bolts to an outer ring while the disc seats down into a recess? If so, that depth is critical. The same must be machined off both surfaces. I think that is where the shims come in, if the depth is off it can be shimmed. Just a guess.

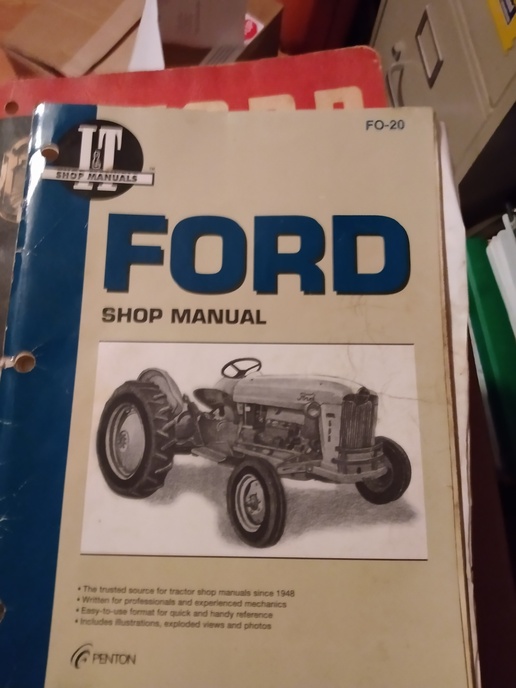
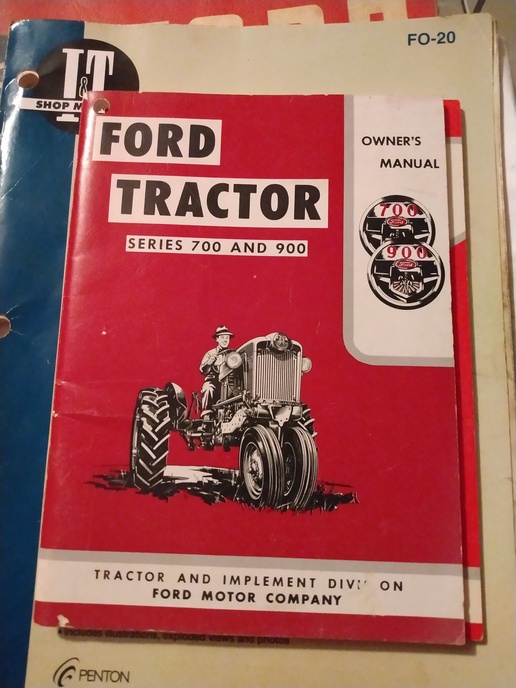
A shop manual would sure be nice to have.

I want to see a follow up once it's all said and done!
 
Assuming the clutch was properly set up by the builder, no adjustment or alignment is required. And you don't want to mess with the adjustments if you don't have the Ford alignment fixture. I suspect those shims are used if the the clutch doesn't sit down in the flywheel recess, as the manual page TractorTucker posted suggests.

The Ford service manual has detailed instructions on splitting a row-crop tractor; I'd sure refer to those instructions if you have the manual. Here are a few items I remember from when I split mine twenty years ago:

You'll need to crib the frame of the tractor so it can't fall over.

Both the frame and the back of the engine need to be supported; once the bolts holding the transmission to the engine are removed there's nothing to hold up the back end of the engine.

The steering gearbox needs to be unbolted from the transmission and slightly lifted (about a 1/4 inch) for the back half of the tractor to roll back. I hoisted mine with a come-along hooked between the ceiling and steering wheel; an engine hoist would work as well.

You shouldn't need to remove any tin; the steering gearbox will lift enough to clear the transmission without taking off any tin.

Disconnect the wire going to the starter switch; if you pull the boot back it will reveal a screw terminal.

The hydraulic pump manifold needs to be removed, which means the hydraulic reservoir has to be drained first. Note that oil will probably drain from the transmission and differential reservoirs when you drain the hydraulics, so you might as well drain all three and refill with fresh oil.

I used a rolling floor jack to lift the transmission; this made it easy to roll the back half of the tractor backwards and forwards and align it with the engine and frame. A bottle jack under the back of the engine allowed me to align the engine with the transmission and frame.

Good luck.
 
> Interesting the info says no alignment tool needed. I just can't wrap my mind around that! Every dual clutch I ever messed with, without an alignment tool it didn't stand a chance of mating back up.

These clutches are self-contained; both clutch plates are captured inside the clutch assembly and are aligned when the clutch is assembled. Unlike a single-disk clutch, the front clutch plate doesn't contact the flywheel but has its own pressure plate in the assembly. Also, the clutch assembly sits in a recess in the flywheel, so there's very little movement possible as it's being installed.


I have done both my 960 and 961. I blocked the front under the side rails. I never roll the front, wide or narrow. That is too dangerous! The back rolls more easily, and you can bolt a trailer jack to the side of the housing with a bracket so that you aren't having to worry about it slipping off a floor jack. Much safer! The assembly comes all assembled and adjusted. I have never used an alignment tool other than a broomstick or screwdriver handle, whatever was handy. I just put slight tension on the screws that hold the PP to the flywheel then tap tap to get it aligned then tighten the bolts. There is usually no need to replace the ring gear because wear is obvious. Remember the engine almost always comes to a stop in one of two places, so the wear will be only in two areas so the flywheel is very easy to evaluate. I remember the three hole plates but sorry, I don't remember using them.
 

Mate/marry the transmission back to the engine. Install a few bolts then check the clutch for proper function. One more tip do not use a impact on the flywheel bolts hand tighten they are brittle a impact will snap them off...
 
Thanks for the information. I have these 3 manuals, but I always like to talk to folks who have done the job themselves. Most times that hands on experience is better than book learnin'.. Looking forward to getting this done. Tractor started grinding when shifting gears and engaging the PTO summer of 2019, and at the end of hay season 2020 you could push the clutch and it wouldn't disengage. Had to stand on the brakes. Only way to engage pto was to cut the motor off. Hopefully this solves all that.
cvphoto82636.jpg


cvphoto82637.jpg


cvphoto82638.jpg
 
have not put one in that model tractor but i learned the hard way that once the assembly is mounted to the flywheel check the height of each of the finger bolts. i noticed one of yours is screwed all the way in, I've had to much difference in the height on some pressure plates cause the clutch to tremble due to it changing the geometry enough to allow the clutch to contact uneven.


Though the clutches have come pre-adjusted for years, It would still be good to verify that all fingers are at the same height by placing a flat piece of steel or glass on the finger bolts. They are not supposed to be all threaded the same distance out.
 
Yesterday's Tractor Forums

We sell tractor parts! We have the parts you need to repair your tractor - the right parts. Our low prices and years of research make us your best choice when you need parts. Shop Online Today.

Back
Top