Moldboard plow restoration

crsutton81

Member
My oldest son purchased a JD model 55 H breaking plow not too long ago and is now wanting to start restoring it. There is talk of him and possibly some of his classmates working on it in his FFA as a project. We're trying to figure out how much green paint it would take. Anyone have a idea ? If it was a home/farm project, I'd probably get a gallon of green and spray it with my air gun but it's not going to school. I figured about 4 spray cans of yellow would take care of the wheels. Trying to be conservative, as this is his money to be spent on this project.
 
No more than a quart per coat of the green. Buy one quart and then a second if more is needed. the same with the yellow. Buy maybe 2 cans and see how far it goes. Jim
 
not too long ago Harbor Frieght sold cheap HVLP guns, for around 10.00. Might be a little more now. Stan
 
How about some red in the inner wheel under the tires? Sorry, just had to do it. I am sure it will look great when it is finished.
 
Jim to be honest, I'm not sure if green paint will flow out of my paint gun. Lol. I've held him off all baccer season on working on it. He's getting the itch to start on it now. A little red on it somewhere could make it work better than factory specs ?
 
The one I have has the paint can underneath. The best I can remember it's an Excell brand. Is there much of a learning curve for the HVLP style guns ? Also, we're planning to use Deere paint. Will they work well for a youngster with this type of enamel ?
 

Spray painting something like that would be a major PITA, due to all the different angles involved in order to get good coverage on everything. You'd end up wasting more paint than it's worth.
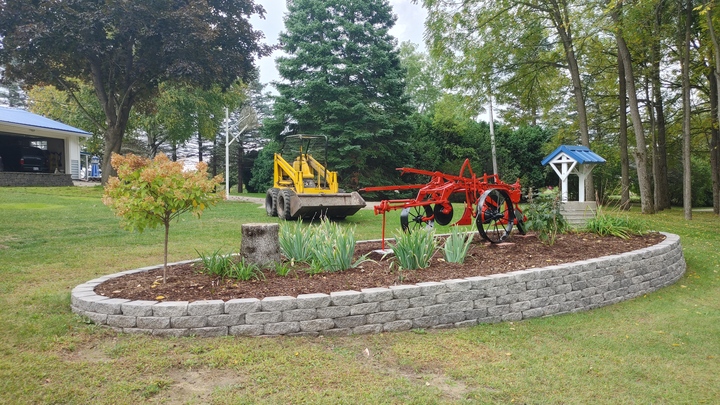
I did this red plow as my winter project last year. I completely went over it with a wire brush in my electric drill, primed it with rattle cans, then brush painted it. It looks as good as the day it was new. No sheet metal involved, so brush marks were not a concern. For the second coat I used one of those foam rubber brushes and sort of dabbed the paint on, which virtually eliminated any brush marks. The only things sprayed were the wheels, and I used rattle cans for those also.

mvphoto98223.jpg
 
If wanting to restore and not just refresh take it all apart taking pictures all the way and clean each part and paint each and then reassembl. I don't know if they were painted and assembled or assembled then painted but taking apart and cleaning and painting is only way to get rid of the rust that has acumulated between parts and depending on how rusty from setting out year around the bolts may be getting rusted badly that holds it together. I had oner,the 12 inch version and favorite plow of all I had. Taking apart and cleaning will be less work than doing a good cleaning while together.
 
I redid a Oliver plow back in 2016--I made a 6 bottom out of a 4 and spent alot of time on it. Now it just sits in the shed taking up space--but I like it--Good Luck to you and your son---Tee

cvphoto137695.jpg

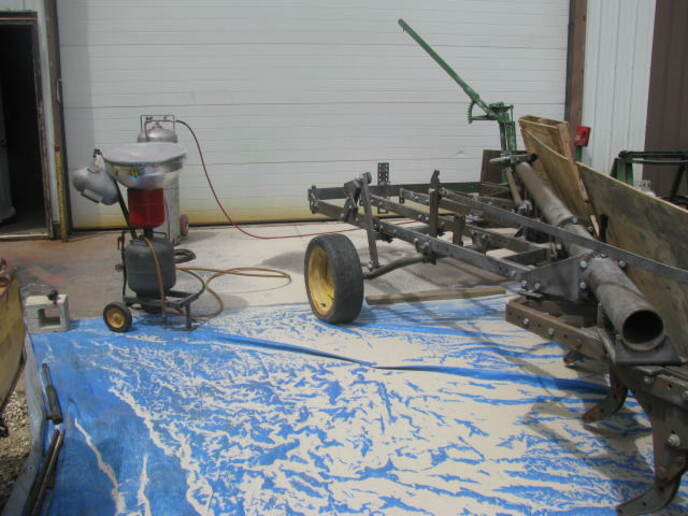
Sand blasting
cvphoto137696.jpg

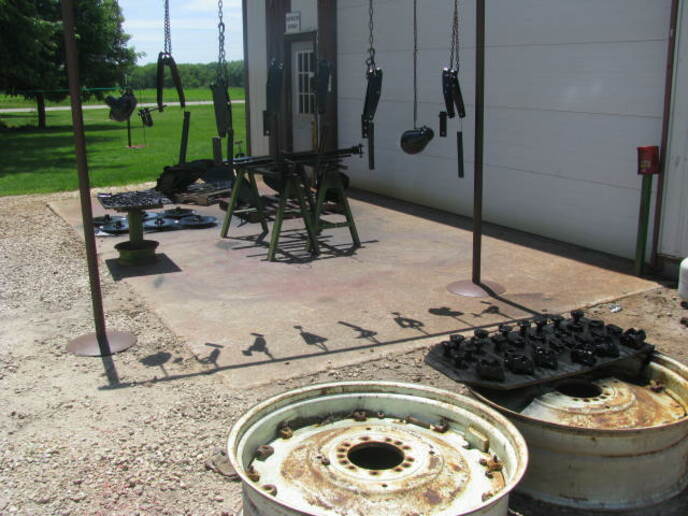
Lots of small parts to paint the wrong color
cvphoto137697.jpg

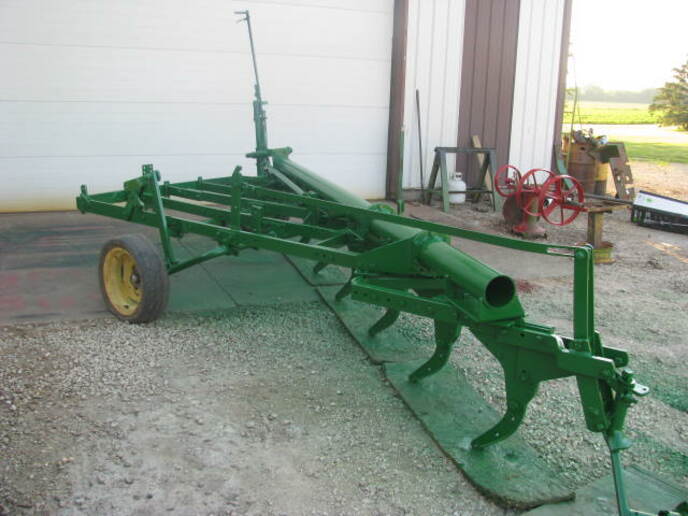
Loren and I had our CBS paint booths
cvphoto137698.jpg

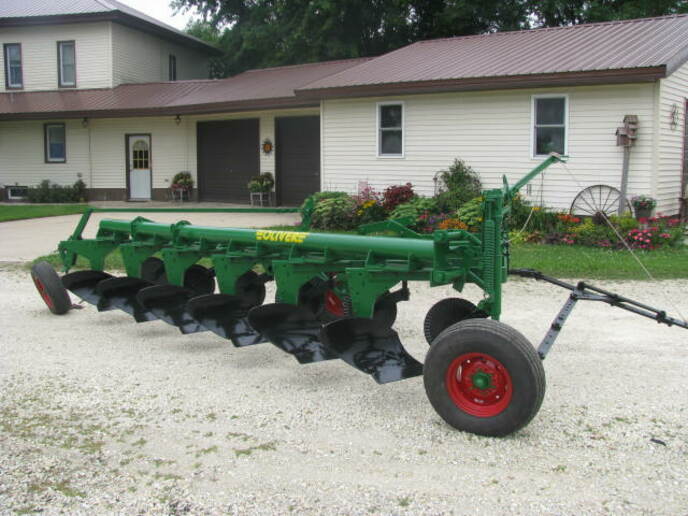
It is all wrong-Its not supposed to have red wheels of black parts but I like it the way it came uot---

cvphoto137699.jpg

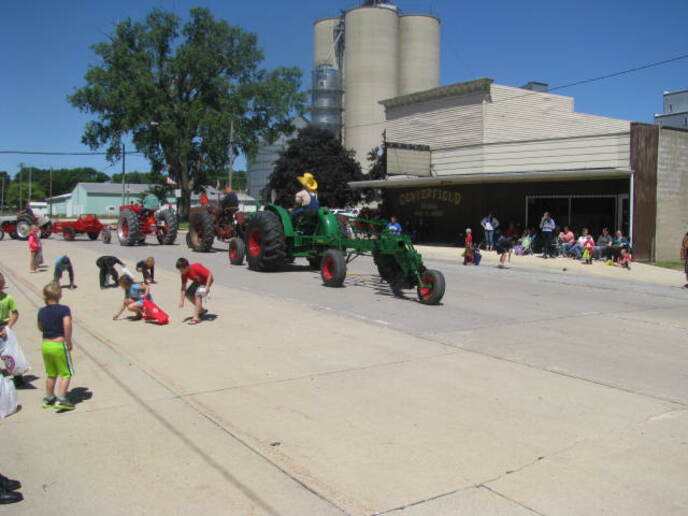
Hometown parade
 
Have put many new parts on those JD plows, and sometimes I repaint the wheels because I had to weld up the valve stem holes and didn't like to have rusty weld spots on them. Those rattle cans go quite a ways but if you sandblast the wheels, then primer them they may take more. Use the JD classic green on the frame. You can get all the new wear parts; i.e., land sides, moldboards, shins if it has them from Tyler the plow guy. His info was put on here recently and I have purchased parts from him before and he is great to work with. There are also some videos on the Steiner site on youtube that show how to repair the clutch lift.
Good luck with the plow and progressive pictures as it is being restored would be great.
 
(quoted from post at 21:06:35 10/09/22)
Spray painting something like that would be a major PITA, due to all the different angles involved in order to get good coverage on everything. You'd end up wasting more paint than it's worth.
I did this red plow as my winter project last year. I completely went over it with a wire brush in my electric drill, primed it with rattle cans, then brush painted it. It looks as good as the day it was new. No sheet metal involved, so brush marks were not a concern. For the second coat I used one of those foam rubber brushes and sort of dabbed the paint on, which virtually eliminated any brush marks. The only things sprayed were the wheels, and I used rattle cans for those also.

This is almost exactly how I do it as well. I use a 4-1/2" angle grinder instead of a drill, and brush paint primer and 2-3 color coats.

Don't waste your money on the cheap foam brushes. They last about 30 seconds. There is a better brand that is handled by Lowe's.

The key to brush painting is to get it on thick enough so that the brush marks flow out, but you need to do it in 2, preferably 3 coats.
 

If we put any red on it then it wouldn't even leave the shed with out falling all apart had to put a little green and yellow under the hood of my super a so it would crank
 

Don't worry green and yellow will come out the paint gun I tested that over the years on some of your red stuff so I can move it out of the shed for the good stuff. It all worked fine after some green under the seat
 

We sell tractor parts! We have the parts you need to repair your tractor - the right parts. Our low prices and years of research make us your best choice when you need parts. Shop Online Today.

Back
Top